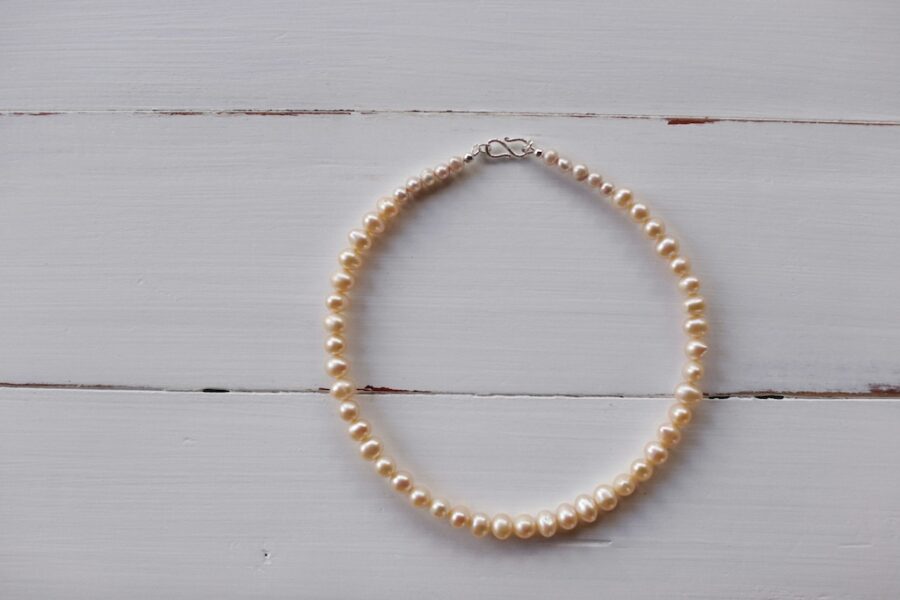
A Step-by-Step Guide on How to Make a Pearl Necklace

Pearl necklaces are timeless accessories that can be worn with all types of outfit, from casual wear to elegant evening gowns. They fit all ages and styles.
Making your own pearl necklace can be a rewarding and creative project that allows you to craft a personalized piece of jewelry-something that suits your taste to perfection!
Or maybe you would like to make it as a gift for someone special, the process of creating a pearl necklace is relatively simple and can be completed with just a few basic materials and tools.
In this article, we’ll walk you through the steps involved in making your own pearl necklace.
Materials Needed
Step one, make sure you have all the necessary materials, full list below:
-
Pearls: You can choose from natural, cultured, or faux pearls. Depending on your design, you may opt for a uniform size and color or mix different shapes and sizes for a unique look.
-
Beading Wire: This wire is specifically designed for jewelry making. It’s durable and flexible, ensuring your necklace will hold up well.
-
Clasp: A clasp is needed to close the necklace, and there are various types available, such as lobster clasps or toggle clasps.
-
Beading Needle: A needle helps thread the pearls onto the wire.
-
Crimp Beads: These small metal beads are used to secure the clasp to the necklace.
-
Crimping Tool: This tool is used to securely flatten the crimp beads onto the wire.
-
Scissors: To trim excess wire.
-
Jump Rings (optional): These small rings help connect the clasp to the wire.
Plan Your Design
Now that you have your materials ready, let’s go into the first step of creating your own pearl necklace!
Decide on the type of necklace you want to create. If you’re unsure of the style you would like to go for, you can always search online for some pearl necklace inspiration. You will find many beautiful ideas.
You can choose between sizes, whether you want a single strand or multiple strands, how long you want the necklace to be, etc…
Prepare the Beading Wire
The important thing here is to make sure you cut a piece of beading wire that is about 6-8 inches longer than the desired length of your necklace.
This extra length gives you room to work with when attaching the clasp. Make sure the wire is smooth and free of any tangles or kinks.
Attach the Clasp to the Wire
Using the crimp beads and crimping tool, attach one end of the beading wire to the clasp. Start by threading one end of the wire through the clasp loop.
Then, slide a crimp bead onto the wire, pushing it close to the clasp. Use the crimping tool to flatten the crimp bead, securing the clasp in place.
Afterward, thread the wire back through the crimp bead to reinforce the connection, and then use the crimping tool again to secure the wire.
Here is a video tutorial so you can see and understand better this process!
Thread the Pearls onto the Wire
Now it’s time to add the pearls to your necklace. Start by threading each pearl onto the wire, one by one, until you’ve achieved the desired length.
If went for a design with various sizes or colors of pearls, alternate them as you go. But always be sure to leave enough space at the end of the wire for the other half of the clasp!
As you thread the pearls, it’s essential to check for any tangling in the wire, as this could cause the necklace to appear uneven or twisted. If you’re making a multi-strand necklace, you may need to thread each strand separately before joining them together at the clasp.
Attach the Second Half of the Clasp
Once all the pearls are in place and the necklace is at the desired length, it’s time to attach the second half of the clasp.
To do this, slide a crimp bead onto the wire, thread it through the clasp, and pull the wire tight. Use the crimping tool to secure the crimp bead, ensuring the clasp is firmly attached.
Trim Excess Wire
Last but not least, once the clasp is attached securely, use your scissors to trim any excess beading wire. Be careful not to cut too close to the crimp bead, as you want the wire to remain secure.
When everything looks perfect, your pearl necklace is complete!
Final Words…
Making your own pearl necklace is a fun and rewarding DIY project that allows you to create a piece of jewelry that is uniquely yours. With just a few basic materials and a little patience, you can craft a beautiful necklace that will add style to any outfit.
Beginner or an experienced jewelry maker, it doesn’t matter! Anyone can follow this step-by-step guide and create a stunning pearl necklace that you’ll be proud to wear or give as a gift!