
Louis Hernandez Jr. – 5 Tips To Get Your Started With WaterColours
Watercolours have a maligned association with the sort of twee art your Grandad might make but Louis Hernandez Jr doesn’t see it like that.
After joining him on a day trip with his painting, I soon discovered the merits of Watercolours and its creative potential. Louis walked me through the first steps to making a watercolour.
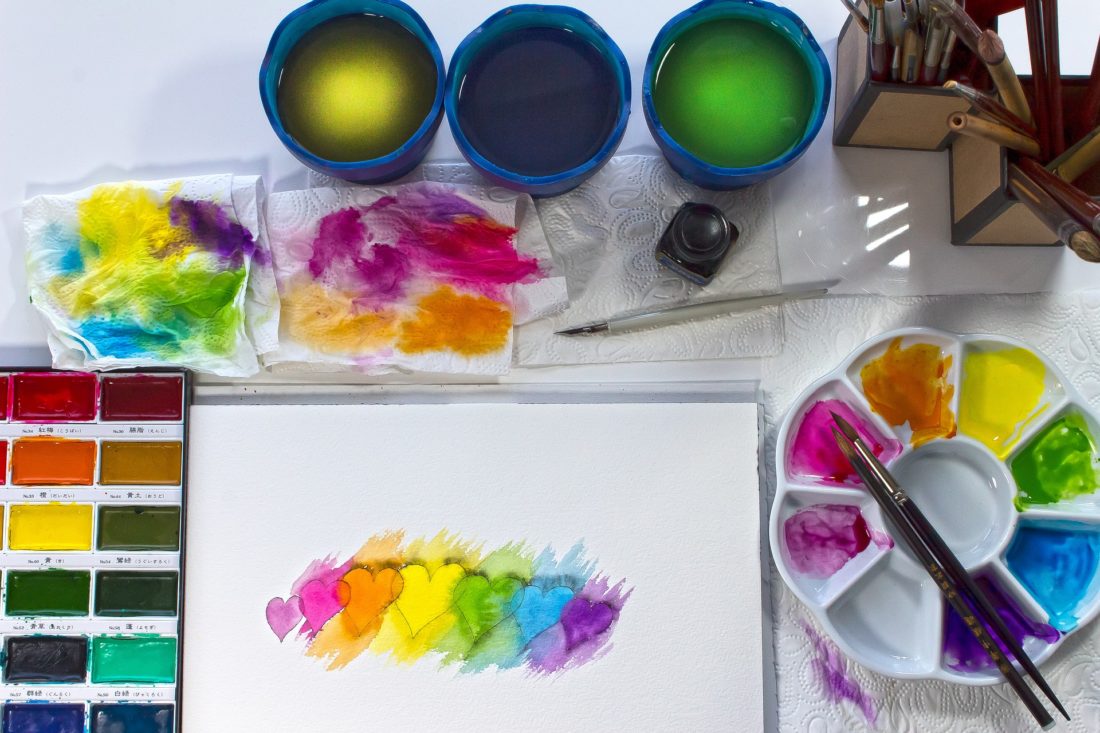
1. Gather Materials.
You will need a wash brush, a sabre liner for the detail and a couple of flat head soft synthetic brushes. Pick up a heavyweight 400 gsm watercolour paper pad and some gum tape. Lastly, find a 6 colour simple box set of watercolours. It will contain the basic red, blue and yellow along with a range of browns and a black. White is unnecessary. Pots for water and boards to lean on can be found around the house.
2. Select the right subject.
Life is better than working from a photo so head out somewhere you like the look of and pitch up a seat and get your pad out. Choose a simple subject but that offers variations of texture and light and shade. A selection of trees among some old buildings occurs frequently in Louis work. You can see why as it affords these variants as well as a contrast of structures and depth of field.
3. Principle behind Watercolour.
It’s all about layers of diluted pigment and using the white of the paper to build off against. Water is like a solvent as it dissolves the pigment. Under this understanding it’s good to start by experimenting with saturating the page and adding drops of pigment and pushing it across the surface with additional water.
Build up layers from the paper mapping out the dark, mid and light areas of your subject so that each time you revisit that area you are applying more pigment and more detail.
4. Process.
Stretch out the paper across a wooden board and wet it allowing the gum tape around the edges to soak the moisture. After 5 minutes this should be dry stuck to the board with a smooth finish.
Sketch out roughly and lightly with a pencil on the paper where each object needs to be.
Select 3 hues that will act as dark, mid tone and light. Louis recommends 2 complimentary colour and one opposite as a good harmony and defining palette range.
Diluted mixes of paint can wash across the surface whilst avoiding areas that need to remain light. This sets a nice frame and something to work against as you apply more layers.
Build up from light to dark with your 3 colours. Pay attention to the textures of the subject and using additional water and a sponge or tissue can gather up pigment to cause different effects.
The darker areas are the last parts. Use your sable liner with darker browns or even black to pick out small details in the wood.
5. Be vigilant and enjoy the process.
You won’t necessarily capture the essence of your subject in one go… but then you might not want to either.
Louis told me the best advice he received from art school was to be vigilant to what’s happening in front of him. The mind will have an ambition of what it wants the work to be, but the work will have a mind of its own too. Enjoy the play between these 2 positions and if it helps, consider the subject an influence to your work rather than something to document or depict. And of course, have fun.